Many OMR problems start long before scanning day. A sheet that is scaled by the printer, a candidate grid that is too small, or a scan with one corner cut off can send hundreds of papers to manual checking. Getting a sheet right takes less time than fixing it afterwards, and the steps are the same whether you run a class test or an entrance exam.
1. Plan the sheet before you design it
Write down a few decisions first:
- How many questions, and how many options each (usually A to D)
- Whether the paper has sections or subjects
- How you will identify each candidate: roll number, registration number or date of birth
- Whether you use more than one booklet series
- What paper size you will print on
2. Start from a layout that matches your exam
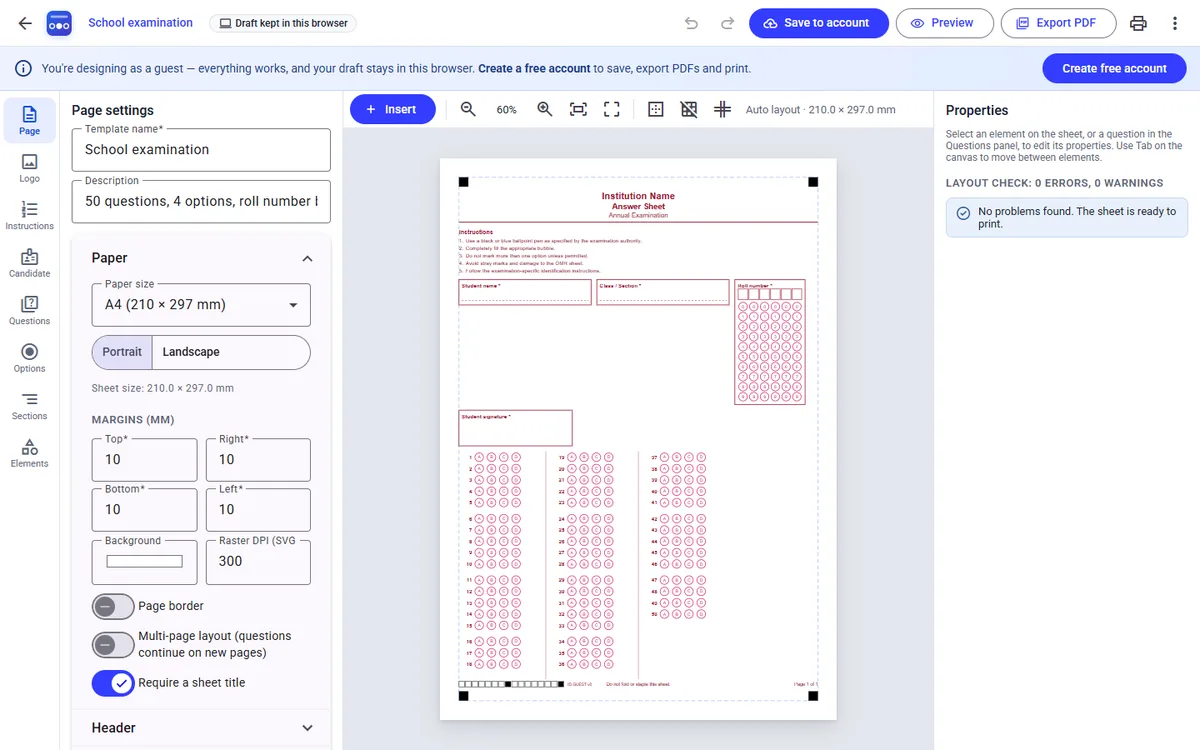
A blank page is rarely the best starting point. In OMR Platform you can open a ready-made layout, such as a 50-question school exam or a 200-question NEET style sheet with four subject boxes, and change what you need. Add your logo, the exam name and your instructions. You can design as a guest with no account, and your draft stays in your browser.
3. Use bubble grids for candidate details
The roll number is what links a sheet to a student, so give it a bubble grid with one column for each digit. Bubbles can be read automatically. Keep the handwritten name and signature boxes for your own records and for disputes.
4. Keep the instructions short
Candidates only need a few rules, and they should be printed on the sheet itself:
- Use the pen specified by the examination authority
- Fill the bubble completely. Ticks and crosses are often sent to manual review
- Do not mark more than one option unless permitted
- Avoid stray marks, and do not fold or staple the sheet
5. Do not remove the scanning marks
The black squares in the corners are registration marks. They let the reader line up a scan with the layout. If you use colours, or shade alternate options, keep the scan-safety indicator green. Colours that are too dark cannot be read reliably.
6. Print at actual size
Sheets that are scaled when printed will not read correctly, and printers often scale by default. In the print dialog:
- Print at 100% / Actual size
- Turn off Fit to page
- Set printer margins to None
Then print one copy and measure a corner mark with a ruler. The default mark is 5 mm. If it measures anything else, check your print settings before you go further.
7. Test before you print the full run
Fill in a few sample sheets by hand, including a light mark, an erased mark and a double mark. Scan them and read them with your template. It only takes a few sheets, and a problem is much cheaper to fix now than after the exam.
8. Scan with the right settings
- Scan at 200 to 300 DPI in grayscale
- Keep the sheets straight and uncropped
- Make sure all four corner marks are visible
9. Grade, then review only what needs attention
Add an answer key with marks for correct, incorrect and unanswered questions, including negative marking if your exam uses it. Then process the batch. Uncertain marks should be flagged, not guessed, so someone can compare them against the scan. Once those are settled, download the results in Excel.
Quick checklist
- Questions, options and candidate fields decided
- Layout check shows no problems
- Corner marks in place and colours scan-safe
- Printed at 100%, and a corner mark measured
- Filled samples tested before the full print run
- Sheets scanned at 200 to 300 DPI in grayscale